


Background
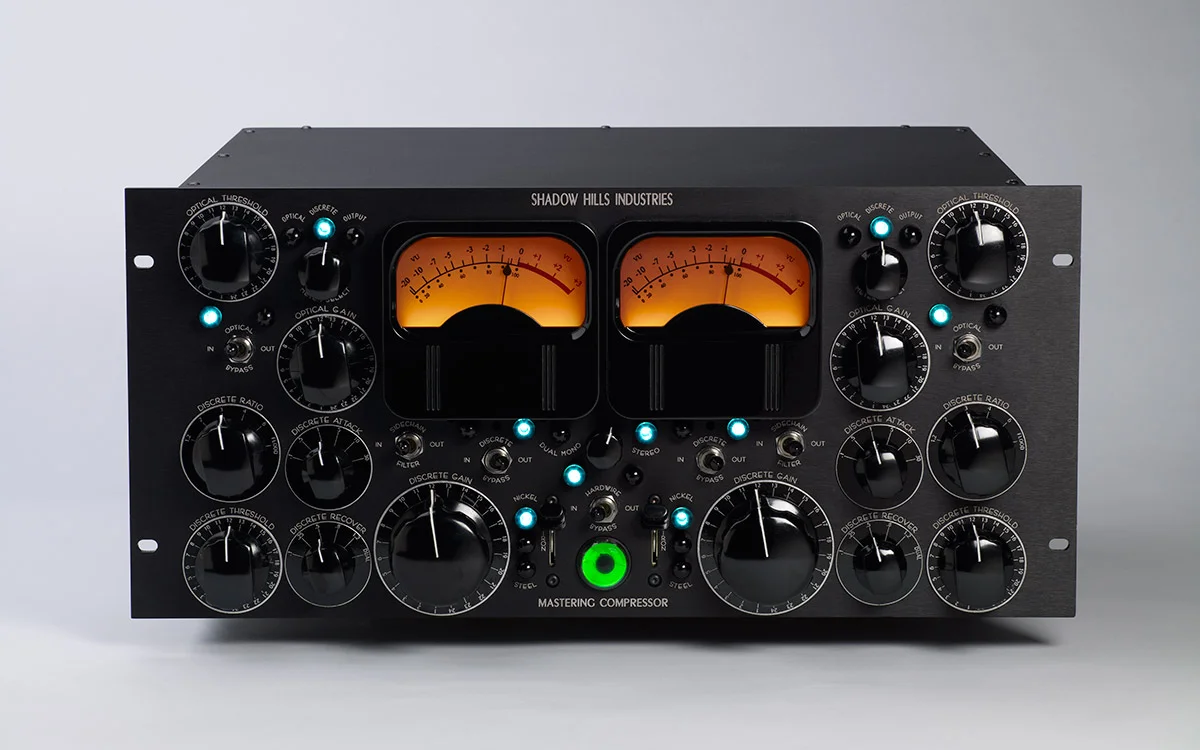
Early last summer a colleague and I got to chatting about how different compressors fit into our mastering workflow. At one point I mentioned that when I wasn't concerned about transparency and wanted some vibe, I'd been using the UAD model of the Shadow Hills Mastering Compressor. He was curious how it would compare to the version he'd been using, Acustica's Murano compressor. So, I bounced out a few files, documented the settings I'd used, and sent a zip over to him.
A few days later he sent back files he'd created by matching the Murano settings as closely as possible to the ones I'd used on the UAD version. We did some listening tests and, intrigued by the differences, thought it would be interesting if we could compare against the real-deal hardware as well as any other software models we could find.
We got to work pestering some of our other colleagues to see if any of them had a hardware unit they were willing to run our examples through, as well as searching for other plugin models. In another few weeks we had additional examples from both a hardware unit and Sknote's SDC (Strereo Double Compressor) plugin.


Six months later, and we've finally got everything processed and compiled to our satisfaction, ready to share with you.
Notes on processing
For our different processing examples, I chose an excerpt of "Hell or Highwater", a progressive metal song by Ross Jenssen on which I had used the UAD Shadow Hills Mastering Compressor during the actual mastering session.
I then bounced seven different versions with settings chosen to exemplify the characteristics of the different sections of this unique compressor.
The actual settings I used during the album mastering session.
Opto and discrete stages disengaged, only the nickel transformer engaged.
Opto and discrete stages disengaged, only the iron transformer engaged.
Opto and discrete stages disengaged, only the steel transformer engaged.
Opto engaged, discrete disengaged, transformer set to steel (the one chosen for the album settings).
Opto disengaged, discrete engaged, transformer set to steel.
Opto and discrete engaged utilizing "Flood" and "Dual" modes, transformer set to steel.


One of the main difficulties we encountered was that the internal level calibration and gain structure in all 4 units varied by differing degrees. This meant that to achieve the same amount of gain reduction in all corresponding examples, the front-panel gain and threshold settings had to be varied slightly. In the end we decided that maintaining similar gain reduction characteristics was more important than keeping the front-panel settings the same.
All processing was done at the original recording and mixdown sample rate of 44.1 kHz and utilizing 32-bit floating point calculations. For the hardware examples an Antelope Eclipse 384 converter was used.
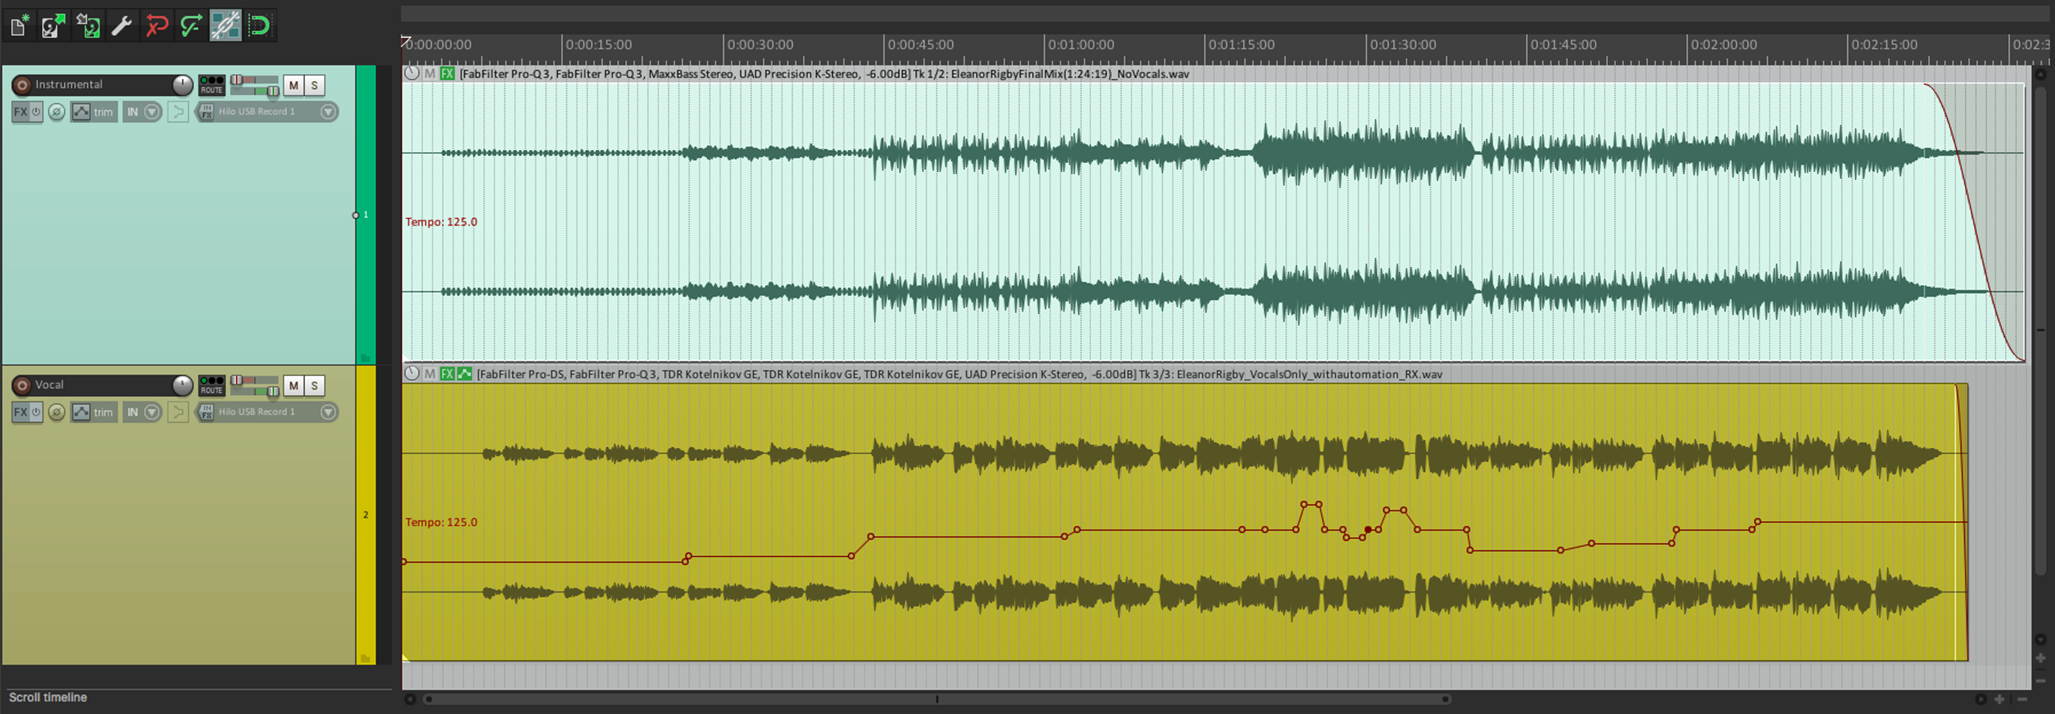
After processing, all files were normalized to -21.7 LUFS, the measured loudness of the uncompressed example, and aligned to sample accurate timing in a REAPER session. This allows for null tests to hear more easily just what the compressor is doing.
The Files
So here it is, the main event. Rather than give you any of our individual opinions, we thought it would be better to simply share the files with you and let you draw your own conclusions. I've created a REAPER session with all the files named and time aligned. If you're not already a REAPER user you can download a fully functional, 30-day trail from www.reaper.fm. If you don't feel like doing that, the raw files are available in the 'Recordings' sub-folder. Along with the REAPER session you'll also find a 'Cheat Sheet' file in the main project directory. This tells you which models the A, B, C, and D examples correspond to. I strongly suggest you do not view this until you have auditioned all the files on the best monitoring you have available to you. This will help prevent any confirmation bias during your own listening tests.
Following is a brief explanation on how the session is intended to be used (this may seem obvious, but if you get careless with your soloing, it's possible for things to get very loud, very quickly!):
If you'd simply like to freely switch between listening to the different examples, solo the one you'd like to start with (original by default), and then use exclusive solo (command-option-click / control-alt-click on solo) to switch between different examples.
If you're interested in performing null tests between different examples, begin by selecting your 'benchmark' example, enabling solo defeat (command-shift-click / control-shift-click on solo), reversing the polarity and soloing it, and subsequently exclusive soloing the examples you'd like to test against it. This can be useful not only to test the different examples against the original, but also to test the transformer emulations from different models agains each other, for example.
Have fun, and let's get a good discussion going down in the comments! I would simply ask that you refrain from using specific model names, instead referring to only the A, B, C, and D designations.
Thanks to
A few thank yous are certainly in order to the folks that helped make this all possible:
Johannes Ahlberg of Saintpid Mastering and Noisebud for the idea to do this in the first place and doing much of the legwork required to get the all the different processing examples together.
Christoph Hoppe-Thiele of Klangquartier for graciously processing and re-processing our examples with his hardware unit.
Quinto Sardo of Sknote for providing a complimentary license so that Johannes and I could test their SDC model.